
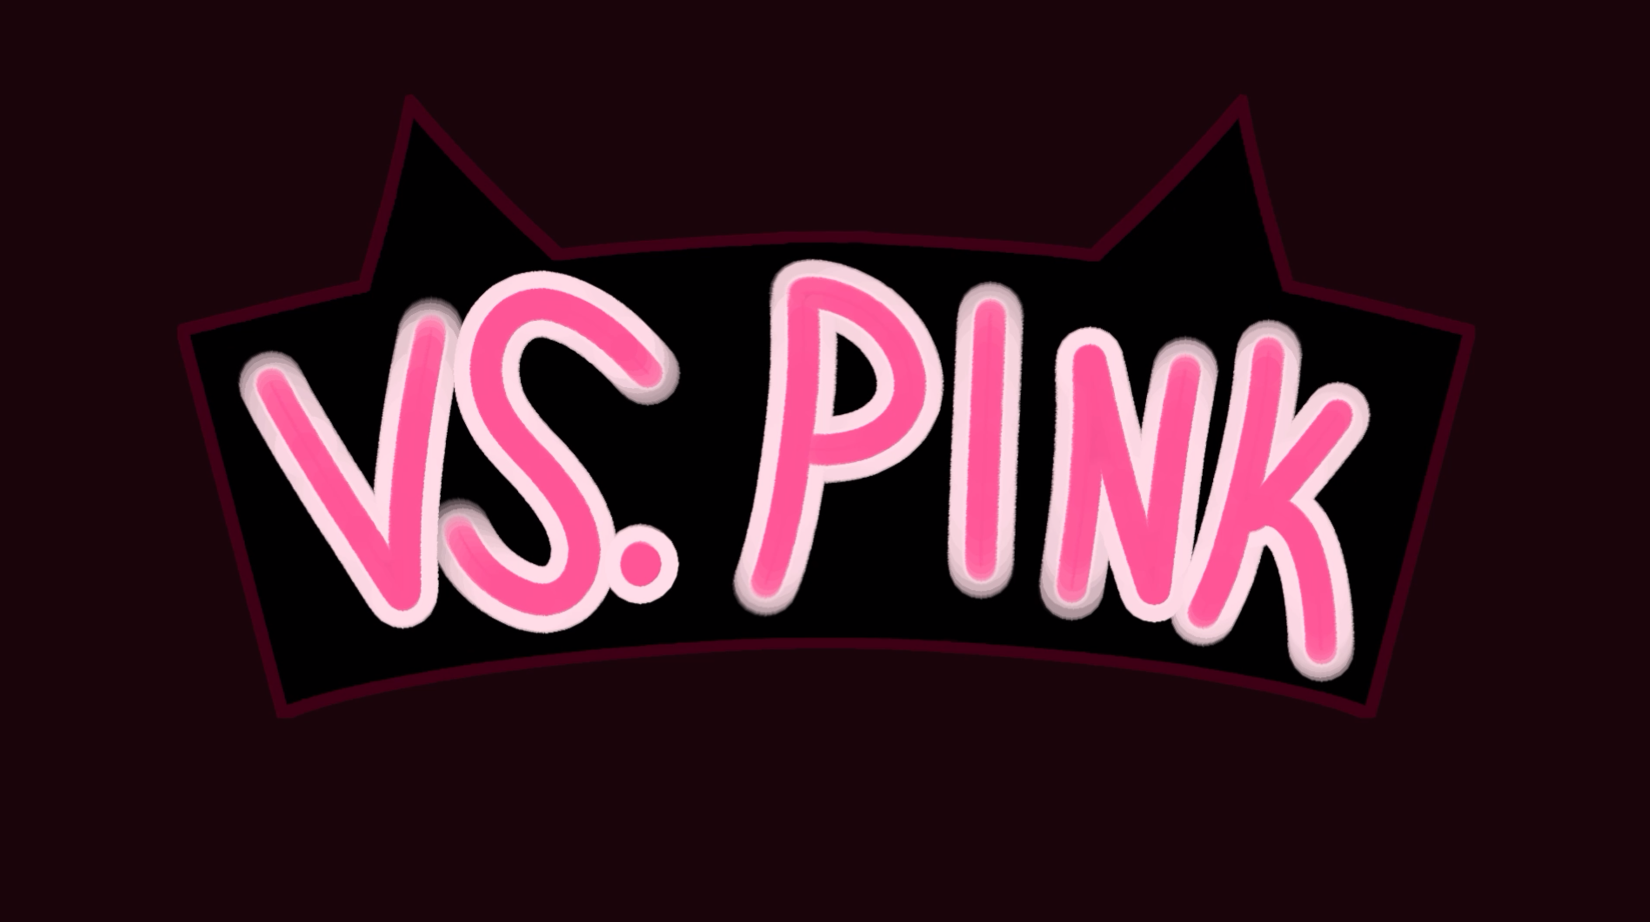
The objective of this assignment was to create a sort-of Diorama using many of the techniques we had learned for Adobe: After Effects so far in the term. The assignment required the project to utilize 3D space and the 3D features within the program, and a minimum of 15 key-framed elements, with a “title curtain” and a 10 frame long fade in and out from black at the beginning and end of the video. SFX and Music were also required to be placed in. We also had to make sure there was some kind of comprehensible story within the whole thing. I ended up deciding to make something related to DELTARUNE: Chapter 5, seeing as it hadn’t released too long ago and was still fresh in my mind (Spoiler Warning!… if you care).
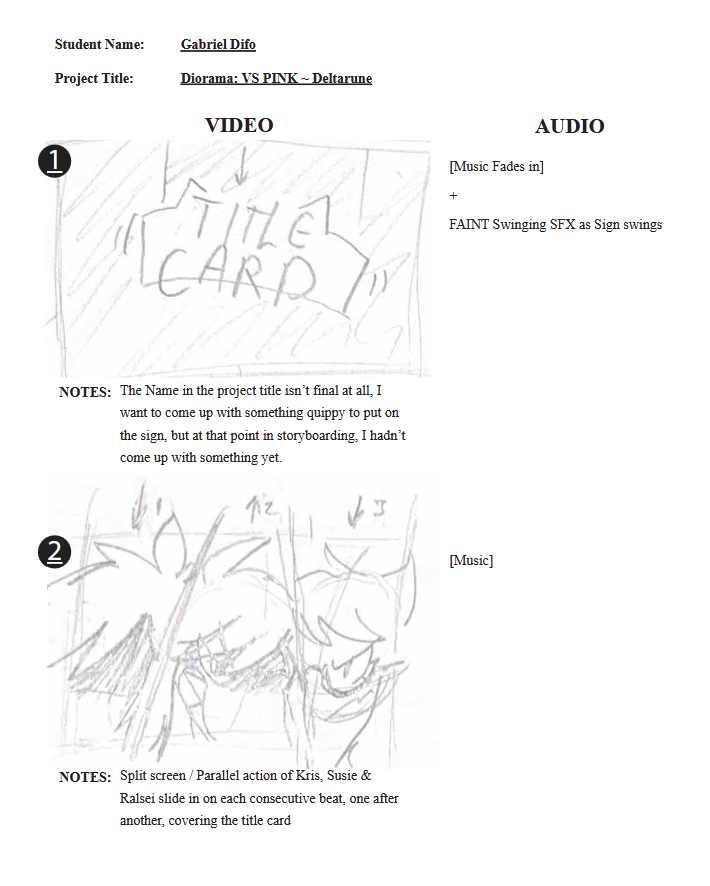
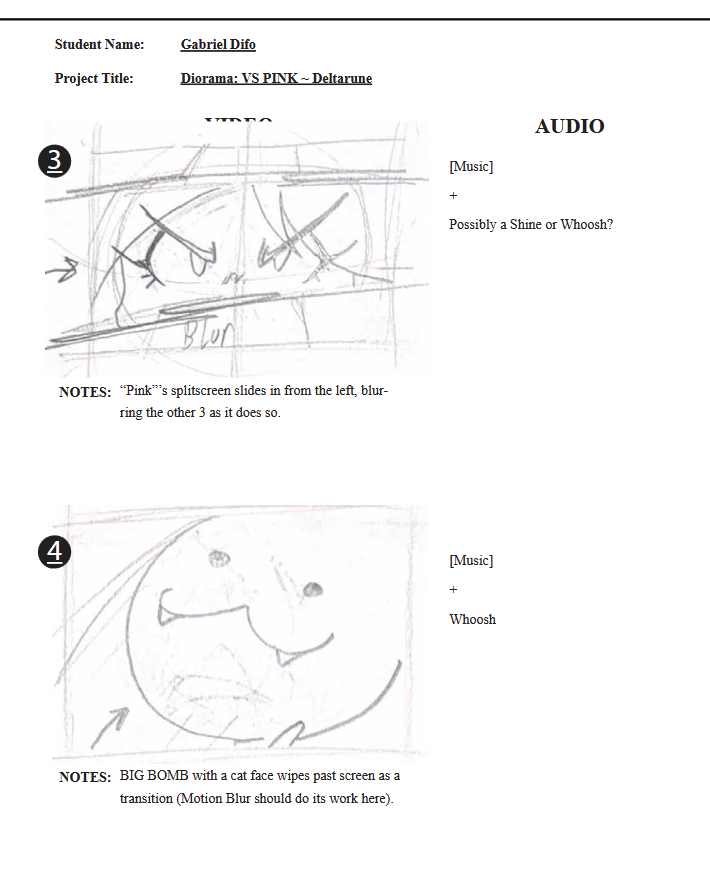
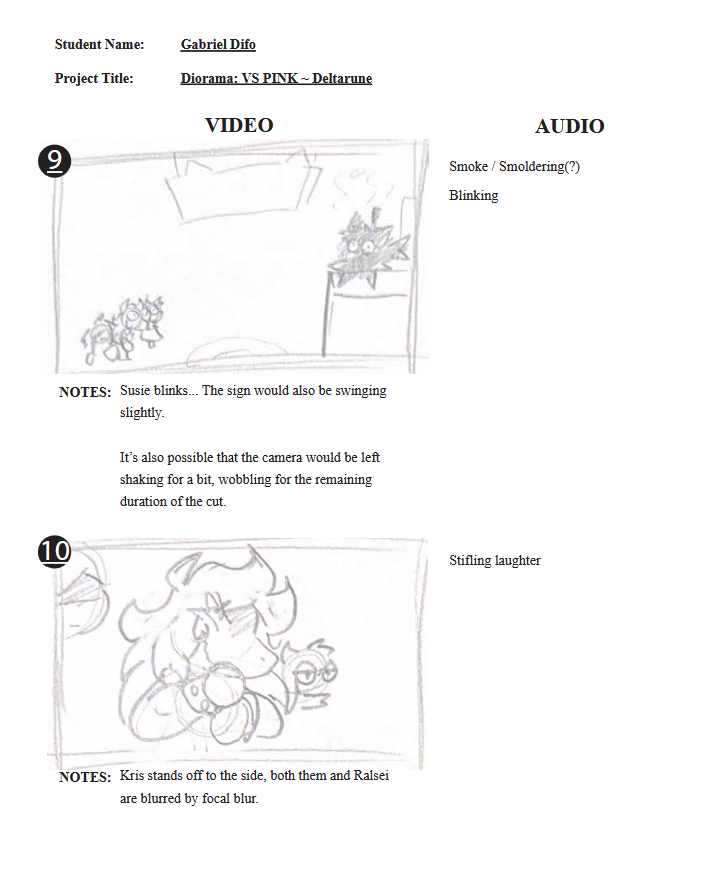
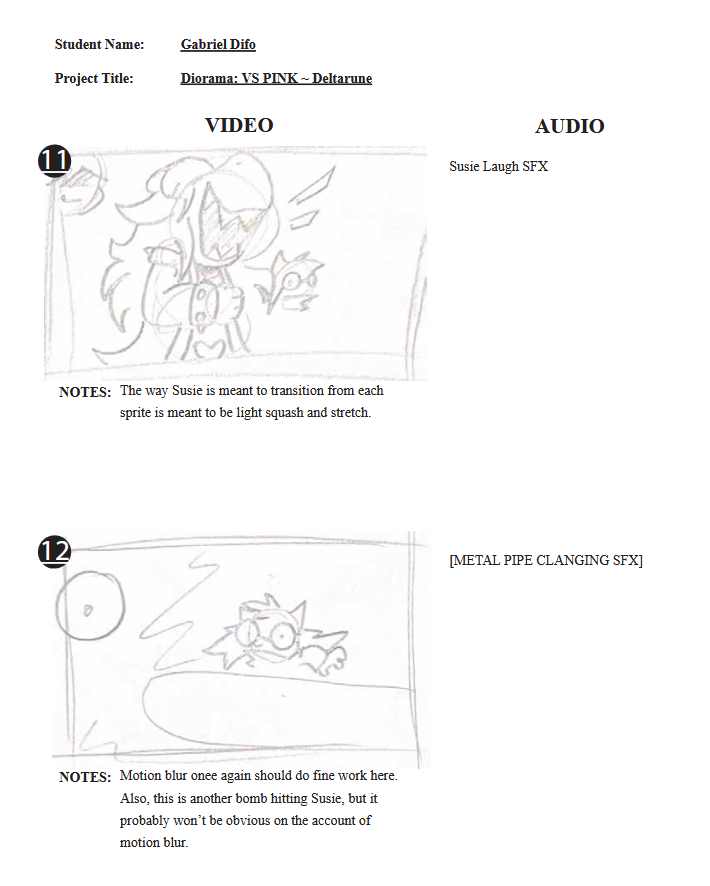
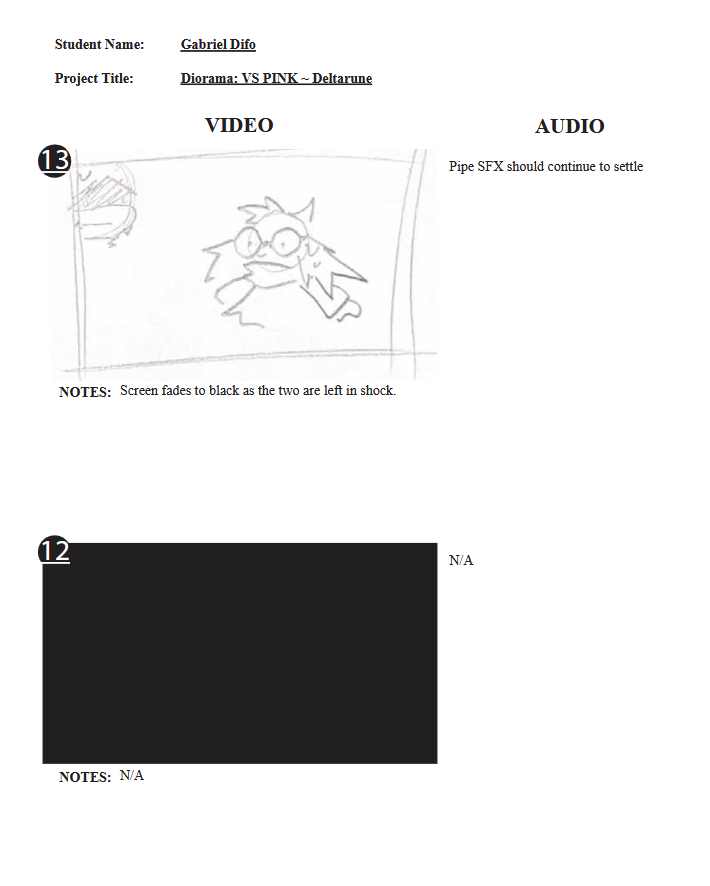
To start, we were tasked with creating a storyboard detailing what was meant to be animated in the project. While the storyboard itself was to be turned in using an organized template in Adobe Illustrator, each individual drawing in the boxes was actually done on paper and later scanned, cropped & resized to fit the template. This portion of the project also, surprisingly, was done while I was on a trip in Alaska.
I decided very early on into the project that, I was most likely going to have a bunch of camera work in After Effects (Aperture, Panning, etc.) to make up for the fact that most assets were not going to be animated or moving at all.


The next thing I had to do was create all of the assets in my native drawing program, Firealpaca. Around this time, I started using a drawing tablet I had gotten a few years back instead of the various computer mice I had been using to draw for the past 8 years, which meant I couldn’t actually start this step of the process until I returned home… I think I still pulled through, though.
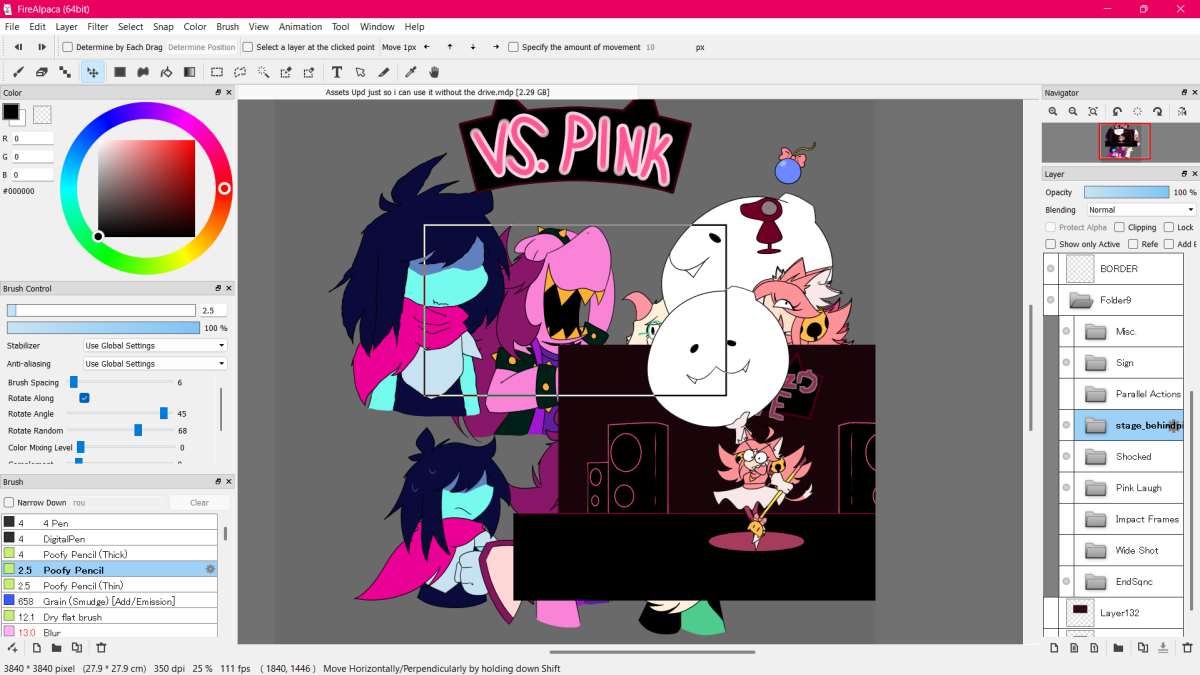
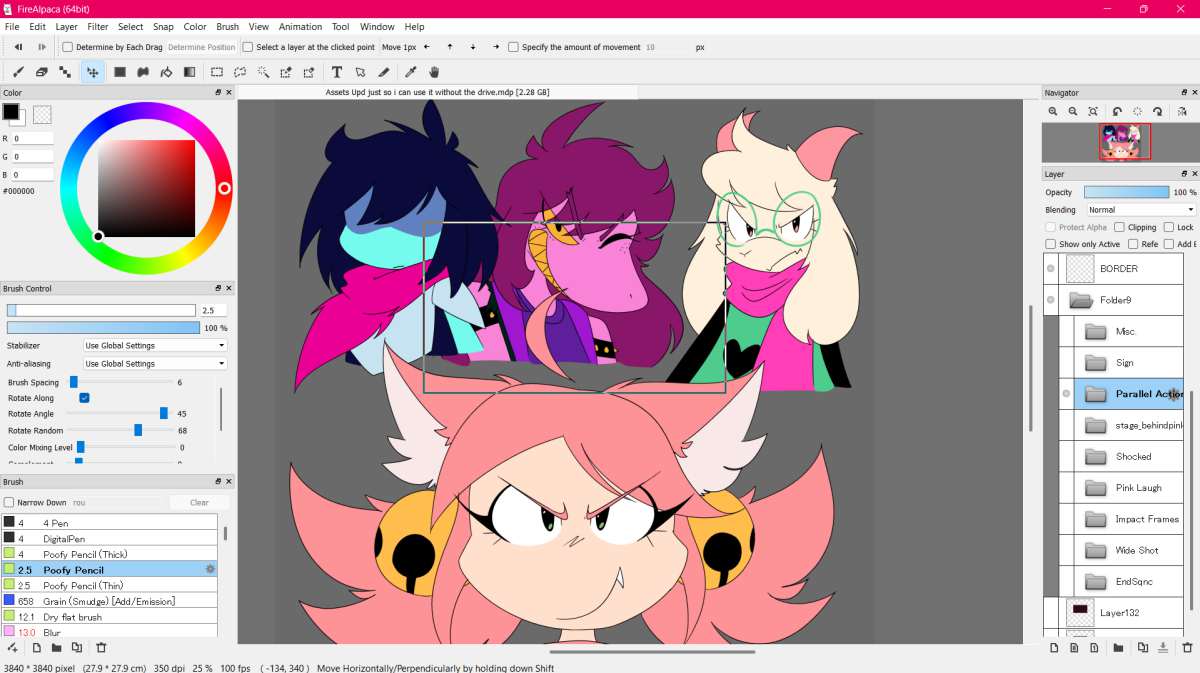
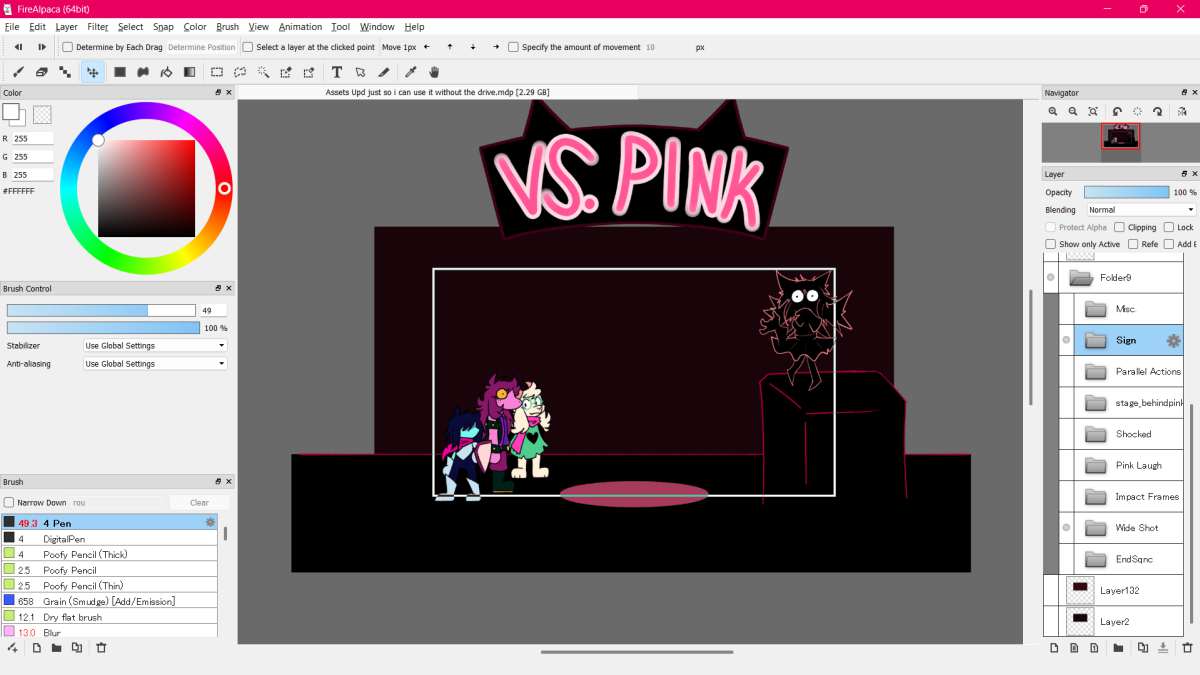
Ultimately, making each asset was standard fare for me for the most part- however, I did have to keep in mind that most assets would have to be extended well past what I assumed would be shown on the screen, due to the fact that they would be moving; maybe even in ways I didn’t originally anticipate. This worked out in the end, although there were a few close calls.
For specifically the shocked expressions, I has realized just a little bit too late that Kris’ asset was actually much shorter than Susie and Ralsei’s and, despite being much closer to the camera than the other two, proved to be a small hurdle. The opposite was true for Ralsei’s sprites during the end sequence, where he is farther away from the camera and thus more might have been shown than I originally thought. Thankfully, though, everything worked out in the end.
Although not shown here, I think my favorite part of this portion was getting to mess around with drawing Impact Frames again- a technique where a set of high-contrast images get flashed on screen to amplify the feeling of an action (which, in this case, was Pink’s bomb exploding).
Next came making everything move and look alive in After Effects. Unlike all of the example assignments we had done in the term prior, I knew immediately that making this project would ultimately require multiple composition due to the sheer amount of moving parts and scene changes.
While this would usually be hard to keep track of, I believe it actually heavily aided my personal work flow. Instead of working linearly, I was able to jump around and do each scene individually at its own time.
Each scene, as per the assignment’s requirements, was done in After Effects’ 3D mode- save for the first two scenes. Thankfully, I was able to utilize this to my advantage heavily. As mentioned previously, I used setting and movement of the built-in “Camera” to hide the fact that most things weren’t actually moving, or to simply spice up a scene with some focal blurring. However, it also gave me a chance to use the 3D space to better and more accurately place all of the assets. This is most easily seen in the wide shot with everyone in frame, after the bomb explodes, but utilization of the 3D features can be noticed everywhere if you look hard enough.
That isn’t to gloss over the other features of After Effects, though. Masking and Parenting were used heavily in the parallel action scene- a scene I’m not sure would have existed without those features. The built in Motion Blur was also used on practically every asset in the project, just to make everything look smoother.
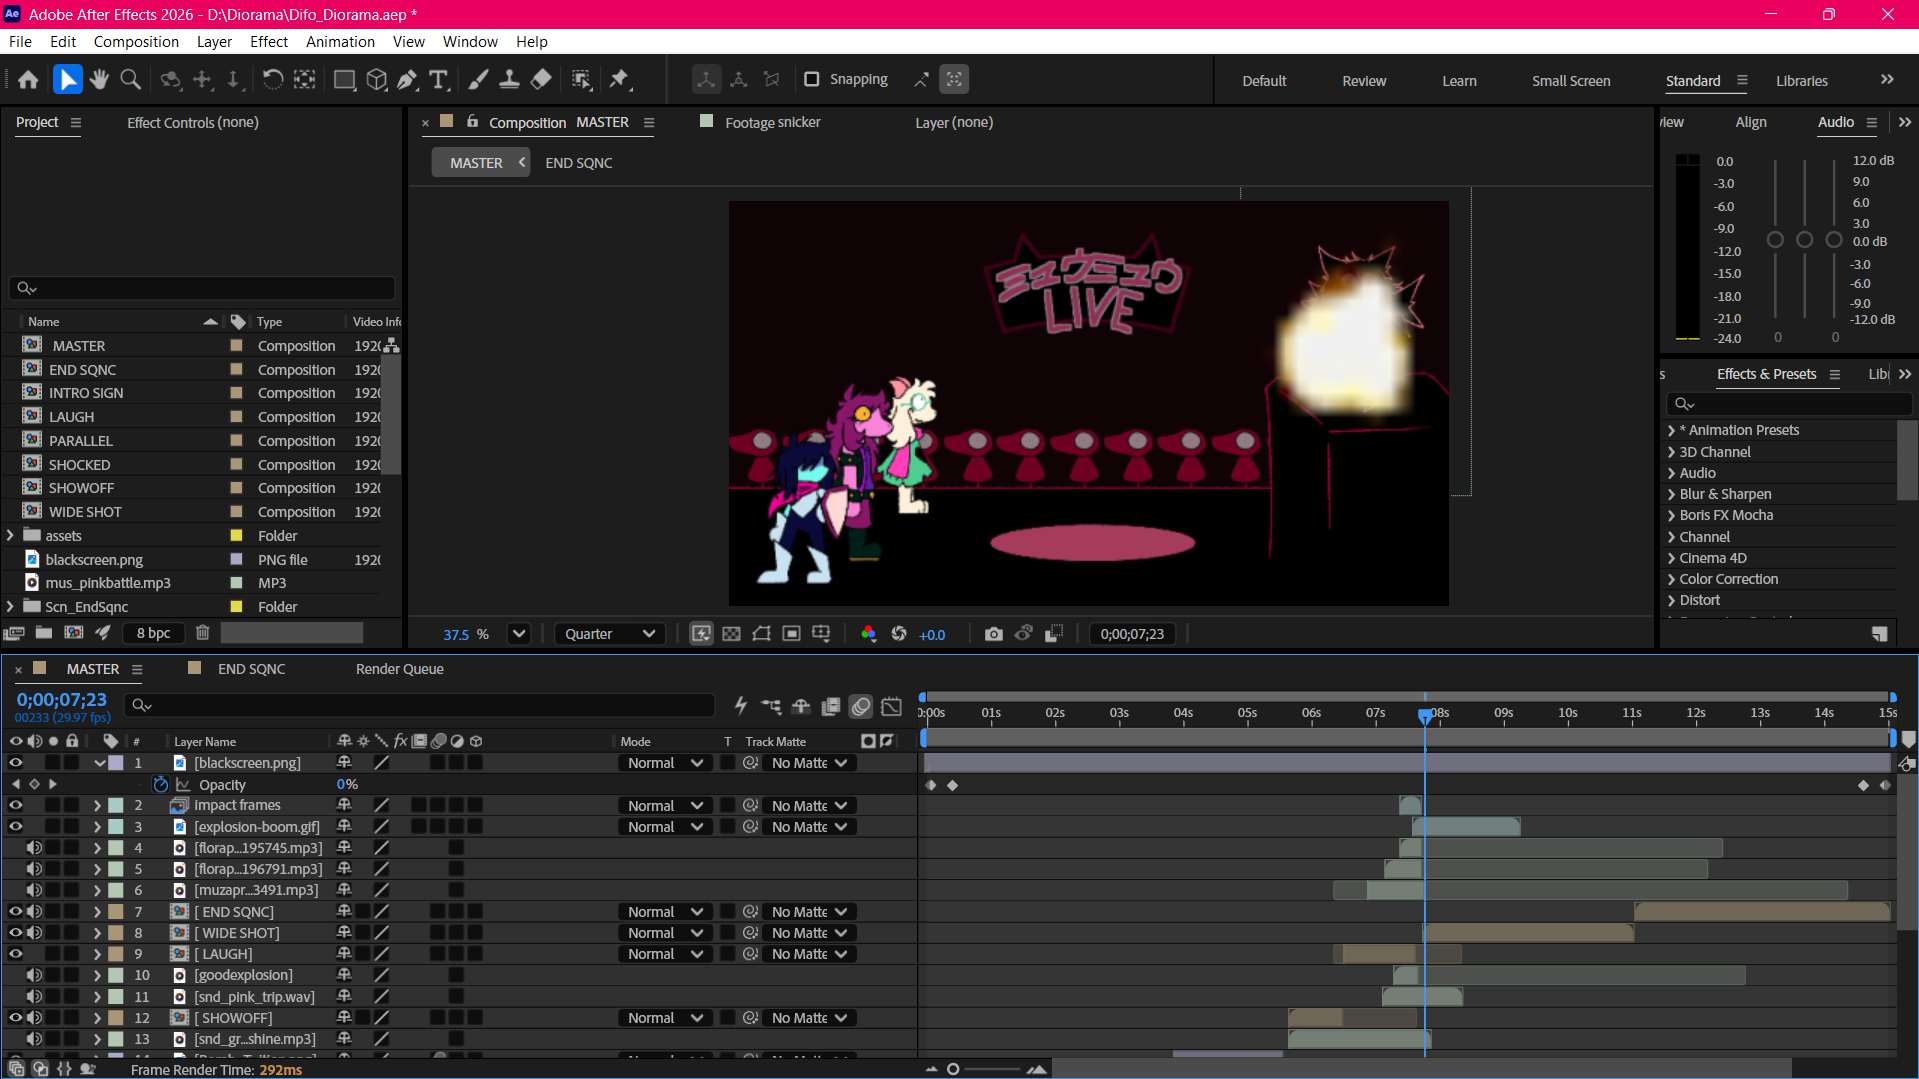
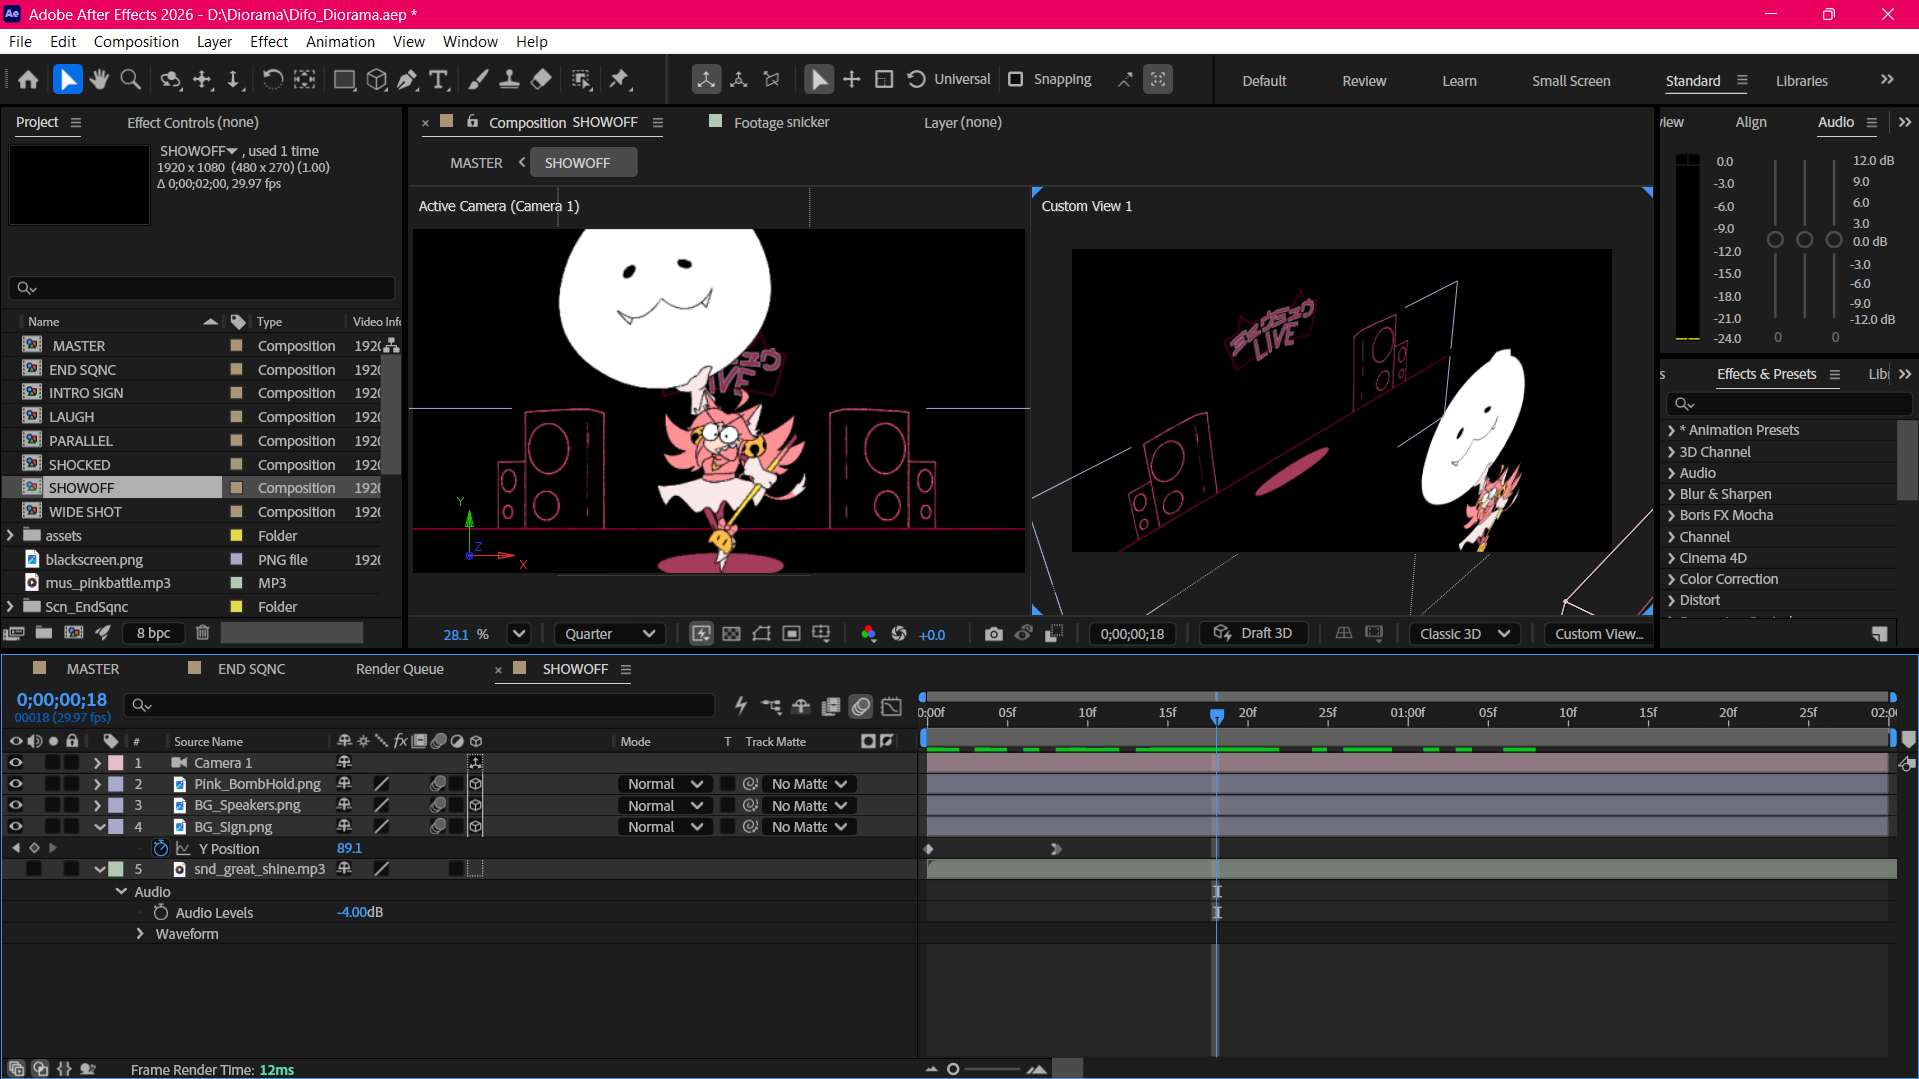
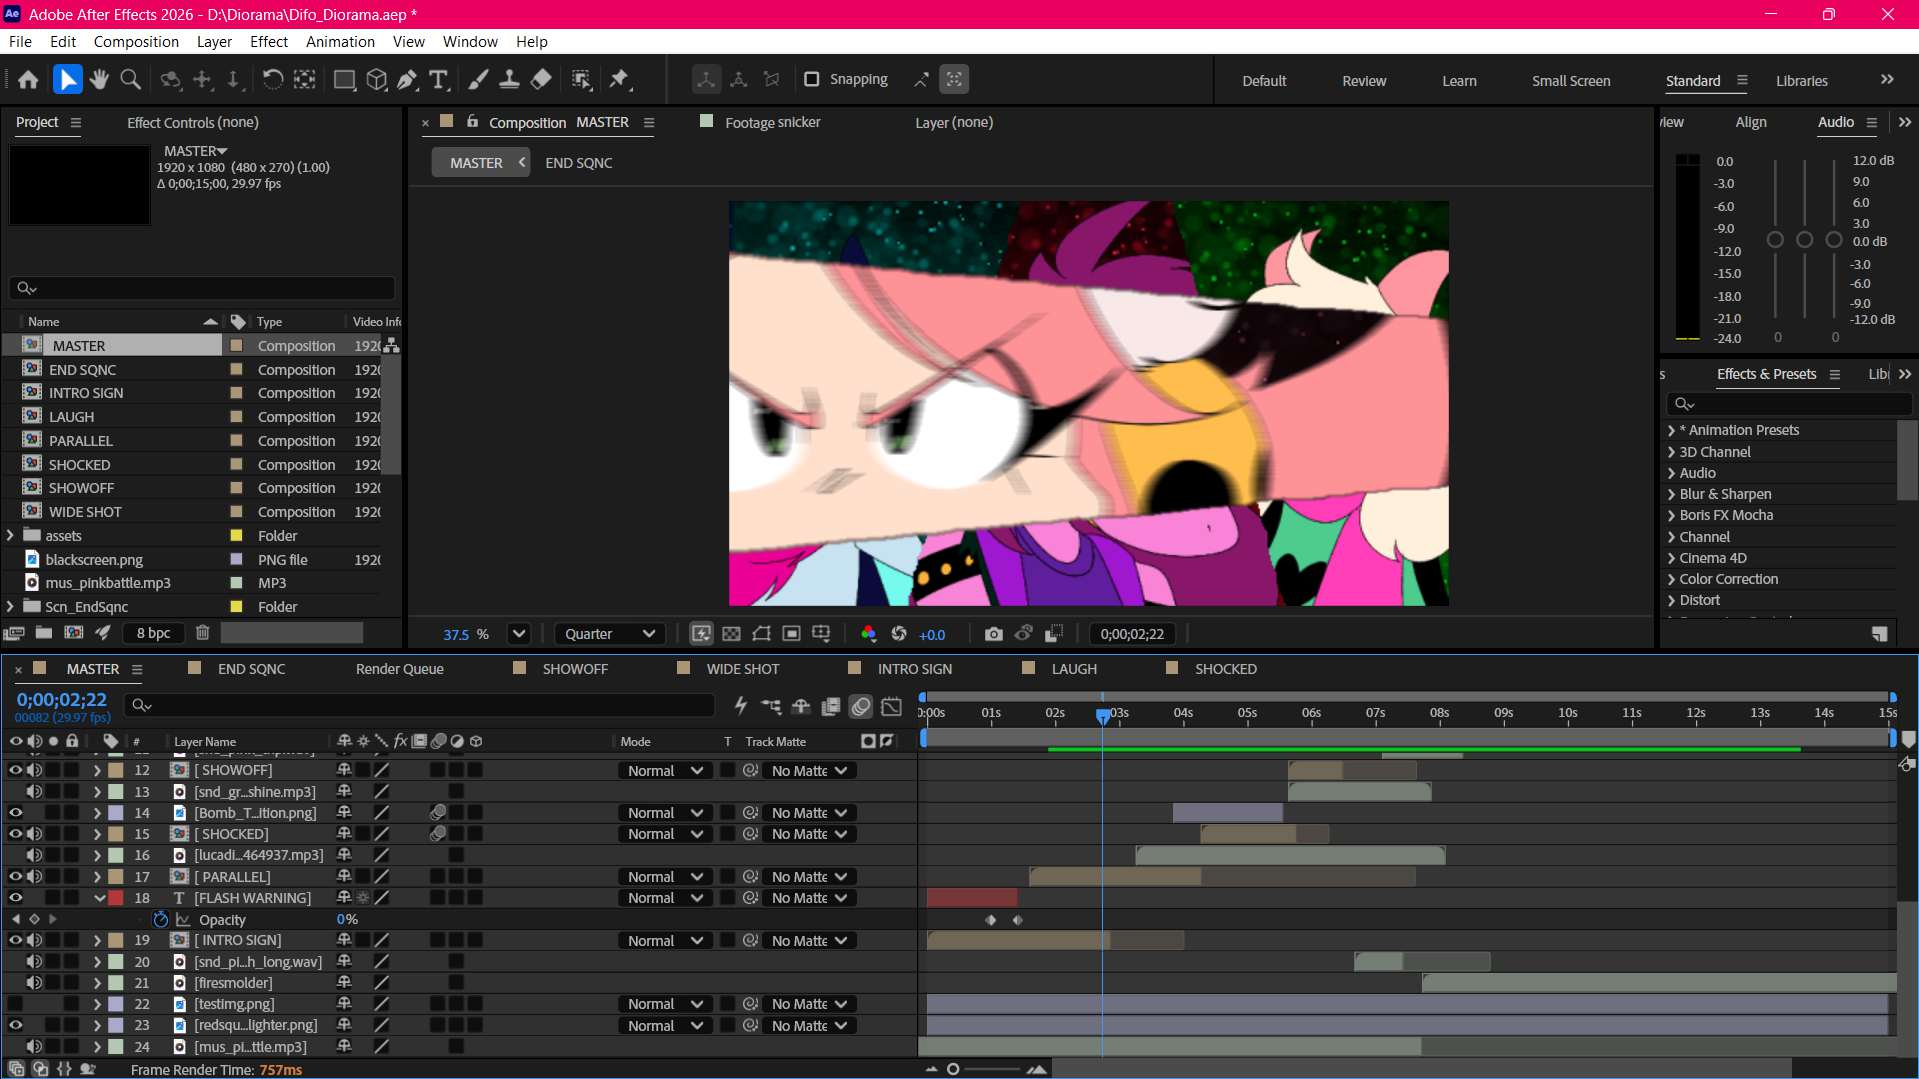
One of the last few things I did in the project was the sound effects. Music was added as the very first thing in the project file, and while this is usually a very bad thing to do, many things in the animation are time-based, so in this case, it ultimately helped. All of the audio assets were either taken directly from Deltarune itself, or were borrowed from Pixabay.
While the work flow I used for this project wouldn’t end up being adjusted and improved until later– namely for organization- I believe it was the right choice for me to do.
And that marked the end of the project!
At the end of the day, I feel the biggest thing I took away from this project WAS the organization… however, ironically, I do believe the art could have been better. Due to time set backs, I was not able to make every asset have at least 2 extra frames of animation, and I believe in part that the quality of each asset similarly suffered, even if slightly. I also realized I may need to touch up on my timing and pacing, as the animation moves through many different parts extremely fast. Not that I personally complain, although I see how such a project, especially with its subject matter and “story”, might be particularly jarring and too fast for some.
If this got you interested in seeing more, or made you want to collaborate with me, either check out more of my portfolio or get in contact!
[…] last time, the asset count on this project, I assumed, would be much, much less demanding, especially because […]